Monday 23 November 2015

Author Brief

After a brief tutoring session with my tutor, i showed the work i had done for this brief. in the discussion, my tutor mentioned that i was a little too literal with my thinking, which i know is a bad habit of mine, so we had a little think about where i could take my work.


I have done some drawing based on music as one of the characters in the book can only function if he is surrounded by music.


Also, i had an idea of maybe drawing a hat that possibly looks like a face, as part of the story, he mistakes his wife for a hat.

The drawings are very simple and are just ideas at the moment, i really need to work on these more and play about with the concept a lot more.

Friday 20 November 2015

After Effects - Part 4

In the last session of After Effects we were taught how to use multiple layers and keyframes, using images in photoshop and different layer sizes.


This Image has three different layers and all of them are different sizes and some are bigger than the composition, which is something to consider when i am doing my animation as it can make a big difference and is really simple and time affective.


The 'Toggle hold Keyframe' is really useful, by clicking on the second keyframe and using this, it holds the position so there is no chance of it changing the property of the keyframe.


The toggle hold keyframe is really useful e.g. this raindrop moves down (like a raindrop) but to make it repeatedly fall without After Effects automatically joining up the middle sod the keyframes, it now just does one movement of going from the top to the bottom.


Duplicating a layer is also really handy and a quick way of making a more skilled looking animation, for instance, i can copy and paste the same rain drop layer with the same keyframes and just change the size and frequency of drops and repeat again and again to make a full rain cloud.


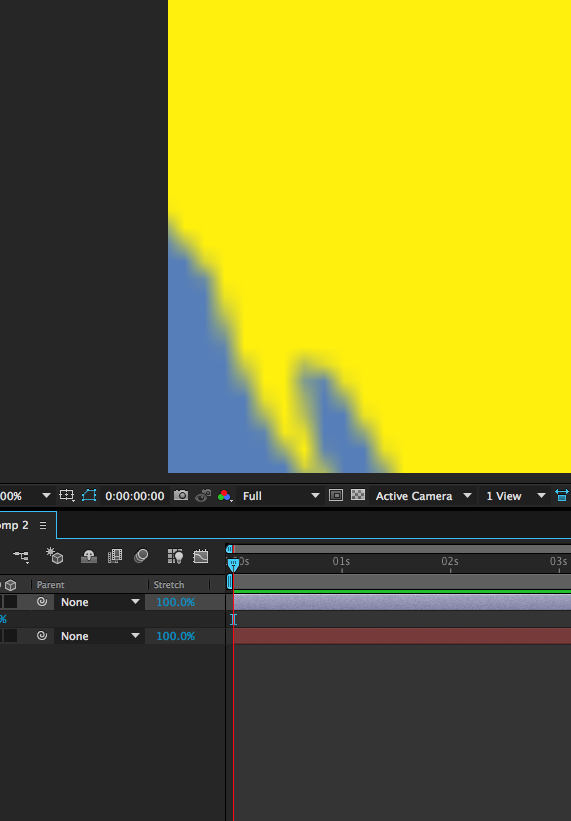
when adding music or sound into After Effects, make sure to preview it on QuickTime Player first and make a note of what section of the audio you want to use.


If you click twice on the audio, it will then open in its own panel and you can edit it down to what ever section you want to use in your animation, then return to your composition and you can edit it even more there.


You can also apply keyframes to audio swell, changing the volume etc. and by using the waveform you can create keyframes for other layers to go in time with the music.


To group together layers so you can move them etc. and then using the parent column, attach layers to the name of the layer you want to parent.


I found this lesson really helpful, i now feel like i know enough to be able to go and create my animation, but also now i can plan my animation knowing what i can do it, which help me prepare my illustrations to go with it.


Screen Printing Worskhop

This workshop has definitely been my favourite so far, I've never screen printed before and i found out how much fun it was. I will admit that there is a lot of preparation work before actually printing but i really like the outcome.


First, we mixed our colours up, ready to print. With the binder, you add 4 spoonfuls of your choice of acrylic paint.


After preparing our screens with emulsion and leaving them to dry, we were ready to start with our negatives for the print.


We first laid the negatives on the glass, with the lightest colour print towards us (we are using two colour prints), leaving sufficient room between the images, we then lay the screen on top of the negatives, facing down. Then lay the wire over the screen (to create better suction) and clamp down the lid and press the button to start the suction. Lastly, choose the correct time for your negatives and start.


Once the images have been exposed, its now time to clean off the excess emulsion, to reveal your image.


Wash with sponge on both sides and then use the hose, hold up to the light to make sure the images are clear.


We then left these to dry and then got started with printing. After clamping the screen into the apparatus correctly, we then printed.


I loved this way of printing, i learnt a lot of new things and it has broadened my opportunities.


Monoprint and Lino print Workshop

As part of the brief states that our final pieces have to be printed  by using either mono print, lino printing, screen print or digital print, we have a set of workshops to recap and play around with the different techniques.


I have done mono printing before so it was really nice to do it again, and use different techniques that i haven't used before.


I used different materials to make different effects on the prints, which came out quite well, although it could be refined with practice.


We then did Lino printing in the afternoon, which i had never done before. i didn't realise how time consuming it was and chose to do a portrait, which i regretted soon after as it took a lot of time and patience to do, especially wrapping my head around which bits to cut etc.

I really enjoyed the workshop and it gave me loads of options of what i could possibly do for this brief.


After Effects - Part 3

In part 3 of the After Effects workshop, we were shown more short cuts that we can use to help us along with our animations and also some useful tools and effects that we can use to make a simple animation look a lot more intricate than it seems.


For a photoshop image, with different layers, to import into After Effects and manipulate each layer differently and retain the size of each layer, you should import as 'Composition-retain layer sizes'


To be organised, file - dependencies - collect files - save as, this collects all files and images and puts in one folder so it is all together.


This is the 'Shy switch', if you want to work on a particular layer you can use this and it will hid the others to simplify the layers.


This is the 'Continuously rasterise tool', this works well on vector images, when scaling up, press this button and and the lines will sharpen up.


We also looked at brightness and contrast which is good to use as an effect in your work.


This is the 'Adjustment layer' tool, this can be used to adjust the hue and saturation